
How to Fix Auto Lip Sync Not Working in Adobe Character Animator (2026 Guide)
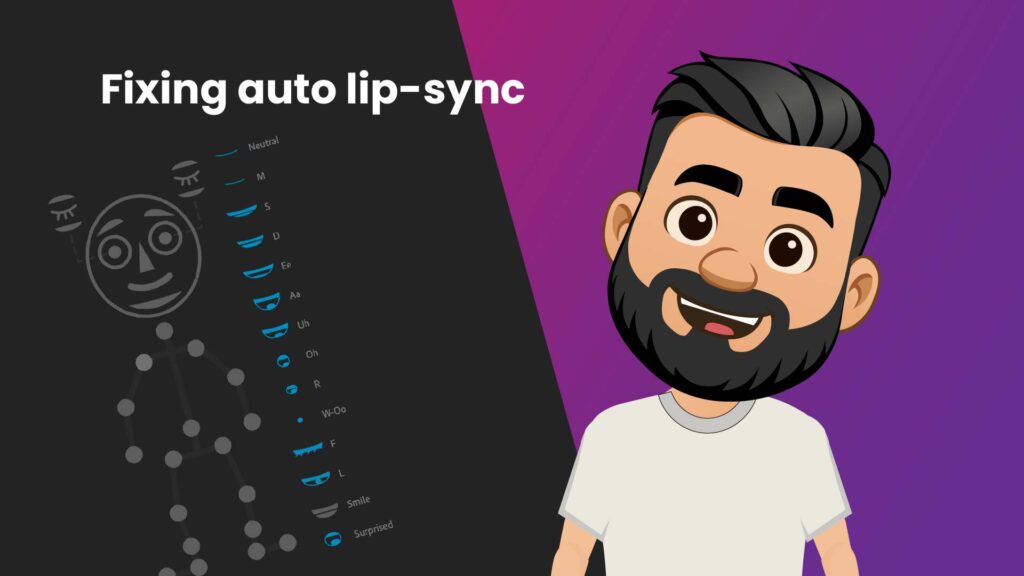
If you have spent hours meticulously designing a character in Illustrator or Photoshop, importing it into Adobe Character Animator, and turning on your microphone—only to find that your puppet’s mouth refuses to move—you are not alone.
Broken auto lip-sync is one of the most common (and frustrating) issues for beginners and professionals alike. The good news? The software isn’t broken. It almost always comes down to a simple naming error or a missing tag in your rig.
In this guide, we are going to troubleshoot and fix your Adobe Character Animator lip-sync issues in three simple steps so your VTuber or cartoon mascot can finally start talking!
1. Check Your Layer Naming Conventions in Illustrator/Photoshop
Adobe Character Animator relies heavily on strict naming conventions to automatically recognize body parts. If your mouth layers are named incorrectly in your source file, the software won’t know which mouth shape (viseme) to trigger when you speak.
Open your .ai or .psd file and check your Mouth group. It should be structured exactly like this (with the plus sign on the main folder if you want it to behave independently):
- +Mouth (Group)
- Neutral
- Smile
- Surprised
- Ah
- D
- E
- F
- L
- M
- Oh
- R
- S
- Uh
- W-Oo
The Fix: If you named a layer “Open Mouth” instead of “Ah”, or “O-shape” instead of “Oh”, rename them to exactly match Adobe’s default list above. Save the file, and Character Animator will automatically update.
2. Manually Tag the Visemes in the Rig Panel
Sometimes, even if your layers are named correctly, Adobe Character Animator fails to tag them automatically upon import.
To fix this:
- Open your project and switch to the Rig workspace (at the top of the screen).
- In your puppet’s layer list on the left, open your Head group, and select your Mouth group.
- Look at the Properties Panel on the right side of your screen. Scroll down to the Tags section.
- Click on the visual “Face” icon. You will see a grid of mouth shapes (visemes).
- Go through your layers one by one. Click on your “Ah” layer on the left, and then click the corresponding “Ah” text in the Tags panel on the right. Repeat this for all 11 core sounds (Ah, D, E, F, L, M, Oh, R, S, Uh, W-Oo) plus the 3 expressions (Neutral, Smile, Surprised).
Once every layer has a blue tag attached to it, switch back to the Record workspace and speak into your mic. Your puppet should instantly spring to life!
3. "Compute Lip Sync From Audio" (The Timeline Trick)
If your webcam tracking works but the lip-sync is jittery or lagging behind your voice, you might be relying on live microphone input when you shouldn’t be.
For professional, broadcast-quality animation (like YouTube videos or explainer animations), you should never rely on live tracking for the final render. Instead, use pre-recorded audio:
- Import your final voiceover
.wavor.mp3file into your project. - Drag the audio file onto your timeline below your puppet.
- Select both the Puppet Track and the Audio Track in the timeline.
- Go to the top menu and click Timeline > Compute Lip Sync Take from Scene Audio.
Adobe will analyze the audio file and automatically generate a timeline of perfectly timed keyframes for every single syllable you spoke. This guarantees 100% accurate, flawless lip-sync every single time.
💡 Pro-Tip From My Studio Experience: Keep Clips Short!
In my experience rigging hundreds of puppets for clients at PuppetLancer, I’ve found a major flaw in how Adobe processes audio. Do not compute a massive 5-minute audio file all at once. The longer the audio file, the more compromised and inaccurate the lip-sync results become.
The Fix: Cut your voiceover audio into multiple smaller tracks (around 10 to 30 seconds each). Select them one by one in the timeline, and compute the lip-sync individually. By feeding Adobe smaller chunks of audio, the engine remains highly accurate, ensuring flawless, professional-grade lip-sync.
Still Struggling with Rigging?
Fixing lip-sync is just the tip of the iceberg. Setting up dangle physics, head turns, and expression triggers can take hundreds of hours if you are trying to learn from scratch.
If you are tired of fighting with layers and just want to start animating your videos today, PuppetLancer has you covered.
[Check out our shop of 100+ Premium Pre-Made Puppets] — professionally rigged, fully tagged, and ready to drop right into your timeline.
Need something completely unique for your brand? [Get a free quote for a 100% Custom VTuber or Cartoon Rig today!]